This guide is about physical sheet layout
“Multiple labels per row” means several label positions across an A4 or Letter page. It is not the same as printing several copies for one spreadsheet record. For per-record quantities and Box 1 of 10 counters, use the packaging-counter guide.
Use the A4/Letter sheet example
The workbook and project provide a sanitized starting point for a multi-up sheet layout.
Measure the sheet and each label
Confirm paper size, label width and height, the number of columns and rows, outside margins, and horizontal and vertical gaps. Manufacturer templates are a good reference, but measure a test sheet when alignment is critical.
Prepare and import the workbook
Use one source row per unique label record, import CSV, XLS or XLSX, and verify the header row and representative values.
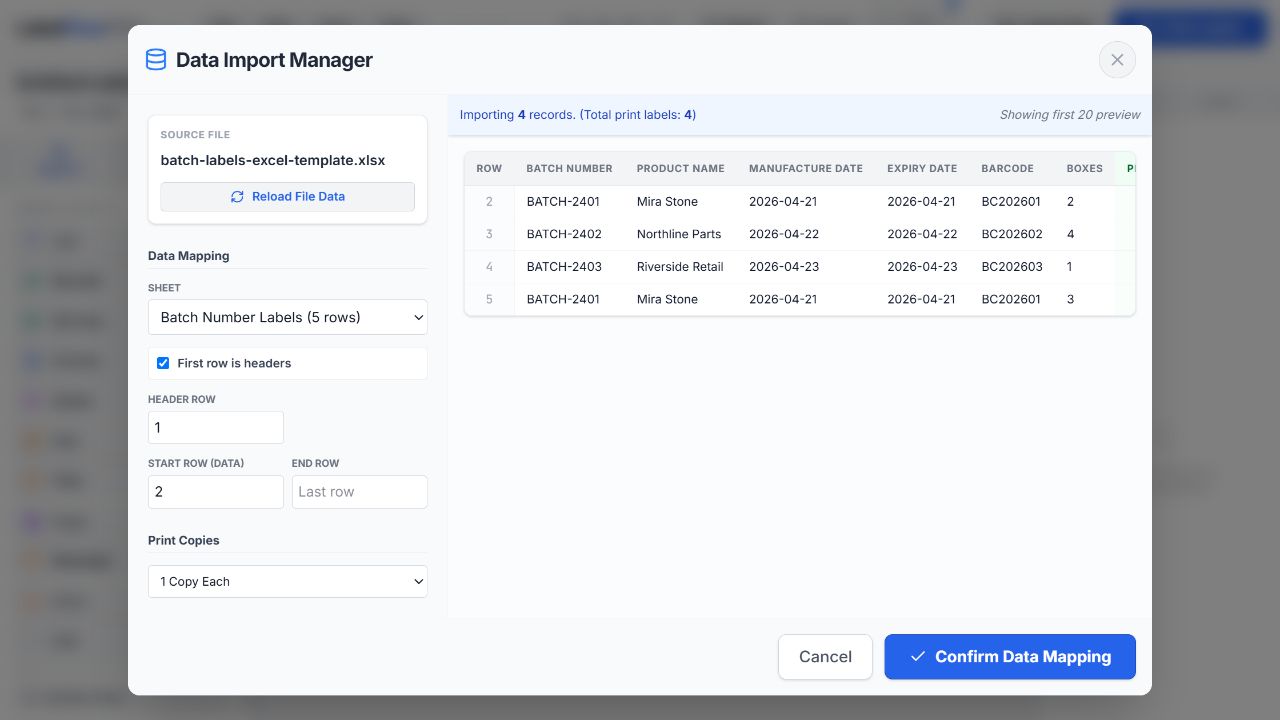
Design one label cell
Set the exact label dimensions, then bind text, barcode, QR or image fields. Keep important content away from edges to tolerate small printer-feed differences.
Configure the A4 or Letter grid
Open print setup, choose A4 or Letter, then enter the sheet columns, rows, margins and gaps so each generated label lands inside its physical cell.
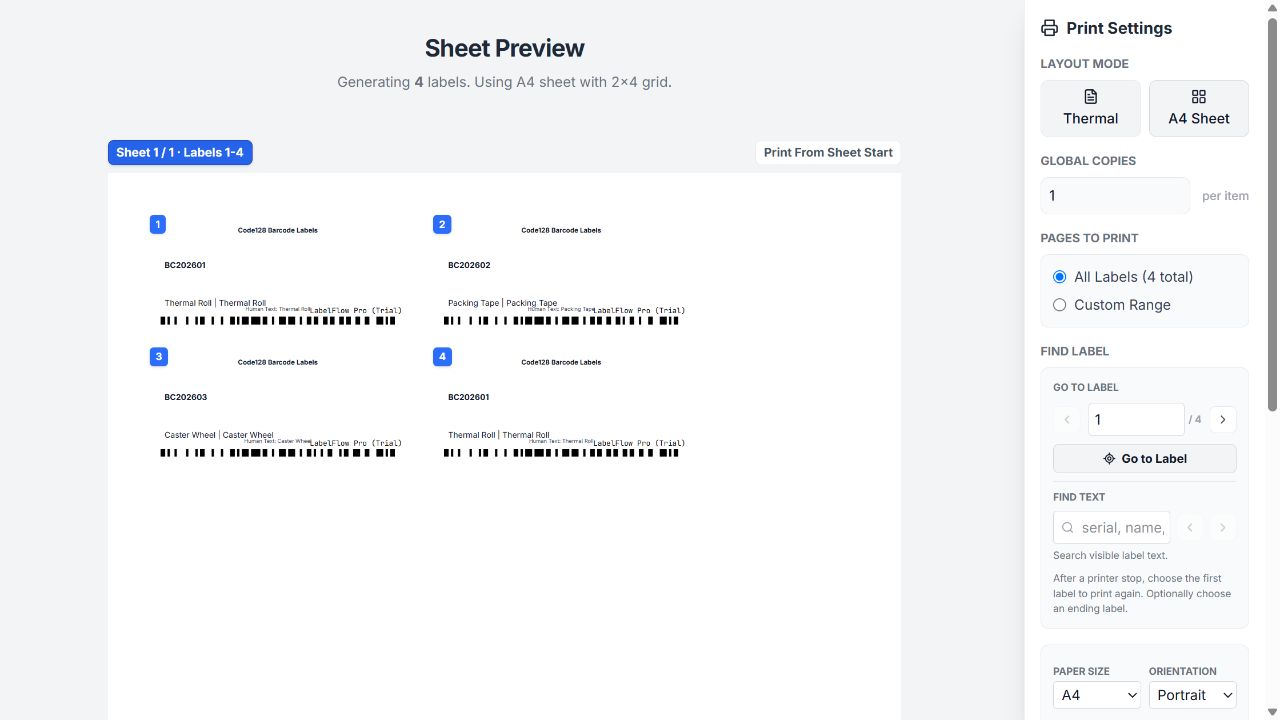
Preview the complete page
Check the first and last columns and rows. A uniform offset usually indicates a margin problem; increasing drift across the page usually indicates an incorrect label size or gap.
Print at 100% and calibrate
Disable Fit to page and other driver scaling. Print one sheet on plain paper, place it behind the label stock, and compare alignment before using the adhesive media.
Production checklist
- Paper size matches the physical stock
- Label width and height are exact
- Columns, rows, margins and gaps are measured
- Content has safe edge clearance
- Browser and driver scaling are 100%
- A plain-paper alignment test passed
Troubleshooting
| Problem | What to check |
|---|---|
| Every label is offset equally | Correct the top or left sheet margin. |
| Alignment drifts across columns | Correct label width or horizontal gap. |
| Alignment drifts down the page | Correct label height or vertical gap. |
| The browser shrinks the sheet | Select Actual size or 100% and disable Fit to page. |
Capability boundaries
What this workflow does
- Create multi-column, multi-row A4 and Letter layouts.
- Fill sheet positions with records imported from Excel.
- Download a PDF or print through the system dialog.
What to plan outside it
- Printer non-printable areas and feed tolerances vary by device.
- Manufacturer product codes are not a substitute for checking actual dimensions.
- Per-record copy counts and packaging counters are a separate workflow.
Frequently asked questions
What does multiple labels per row mean here?
It means multiple physical label cells across one A4 or Letter sheet, not repeated copies of one Excel record.
Why does alignment drift across the page?
Progressive drift usually comes from an incorrect label width, height or gap rather than the outer margin.
Should I use Fit to page?
No. Print at Actual size or 100% so the designed dimensions are preserved.
Can I download the sheet as a PDF?
Yes. PDF output is useful for review and repeatable printing, but the PDF viewer must also print at 100% scale.