Use this workflow when Excel is unnecessary
This page covers labels driven entirely by the internal serial generator. If every label must also carry product, location or batch values from a workbook, use the Excel plus serial-number guide.
Start with the serial label layout
Open the reusable serial template. The optional downloads are useful if you later decide to combine the sequence with spreadsheet fields.
Open a label and add a serial object
Start from the serial template or create a label at the required physical size. Open the serial-number controls for the object that will display the unique ID.
Build the serial format
Add a fixed prefix or suffix when needed and choose numeric padding. For example, prefix ASSET-, padding 5 and start 27 produces ASSET-00027.
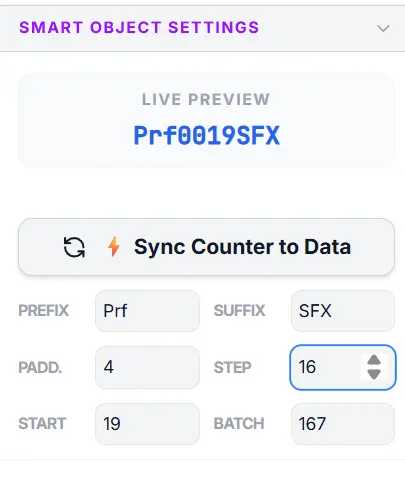
Set the start and increment
Enter the first number and the step between labels. Most runs use +1; a custom step can represent an established numbering scheme.
Set the exact batch size
Batch is the number of serialized labels to generate. Match it to the approved production or asset-allocation count before printing.
Review the beginning and end of the sequence
Check the live preview, then inspect enough generated records to verify padding, rollover and the final value. Record the allocated range in your operational log.
Print and save the project
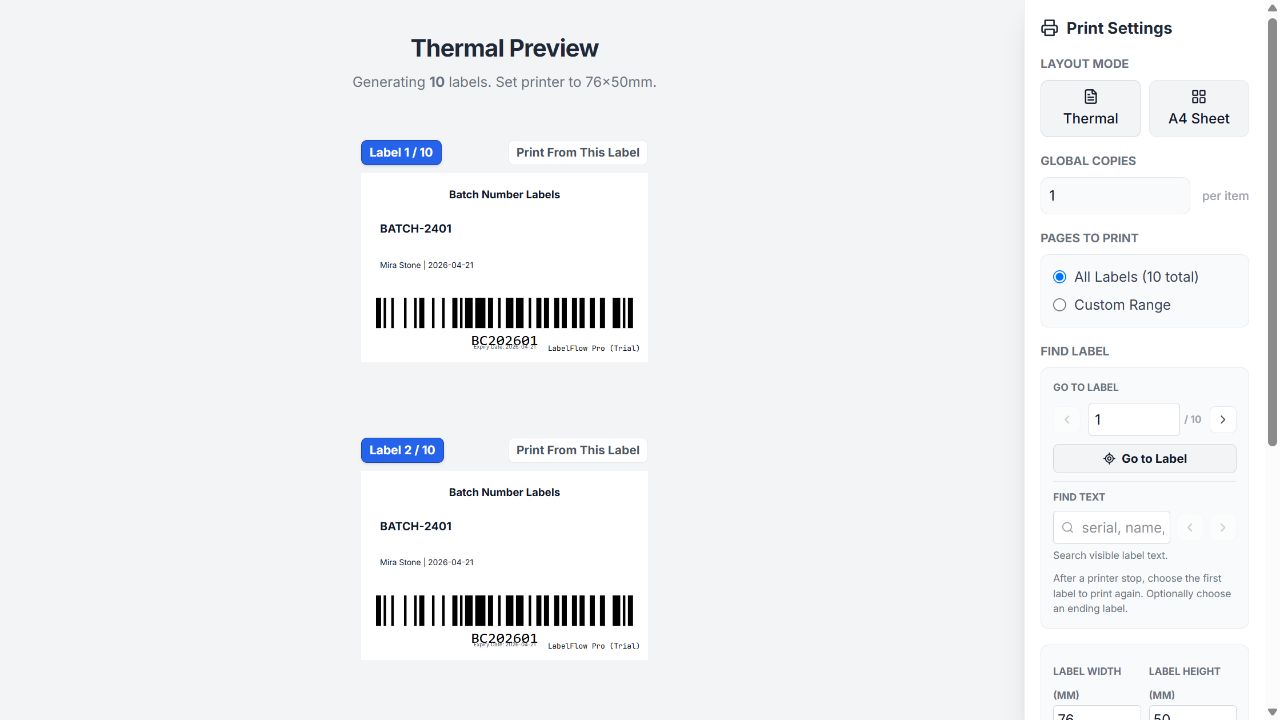
Print a sample, confirm readability, then print the batch. Save the project JSON so the layout and settings can be reused and the next approved starting value can be managed deliberately.
Production checklist
- Prefix and suffix match the approved format
- Padding keeps identifiers the same width
- Start and final values are recorded
- Step is intentional
- Batch count matches the work order
- A sample label is readable and scannable
Troubleshooting
| Problem | What to check |
|---|---|
| The first value is wrong | Recheck Start and whether a previous run already consumed part of the range. |
| Numbers skip unexpectedly | Confirm the Step setting; use 1 for consecutive integers. |
| IDs have inconsistent width | Increase Padding so all numbers use a fixed digit count. |
| A repeated run could duplicate IDs | Allocate and record ranges outside the app before printing the next batch. |
Capability boundaries
What this workflow does
- Generate serials with prefix, suffix, padding, start, step and batch values.
- Show a live preview before a batch is printed.
- Place the generated value in readable text or a supported code element.
What to plan outside it
- This is a local generation workflow, not a central serial-allocation database.
- The operator remains responsible for reserving ranges and preventing duplicate runs.
- For row-specific spreadsheet context, use the separate Excel-plus-serial workflow.
Frequently asked questions
Do I need Excel to create a serial sequence?
No. The internal serial generator can create the complete sequence from start, step, padding, prefix, suffix and batch settings.
Can the sequence increment by more than one?
Yes. Set a custom Step value when the numbering standard requires it.
How do I prevent duplicate serial numbers?
Reserve and record each printed range as part of your production process, then set the next approved start value deliberately.
Can serials be encoded in a barcode?
Yes. Use the generated serial value in a compatible barcode or 2D code and verify a printed sample with the production scanner.